101: How To Use The Platform

First of all, hi! Thank you for showing interest in learning our platform. Secondly, we know learning a new tool and platform can be overpowering or sometimes even stressful. But don’t worry, we will follow you through this step-by-step. It’s easy.
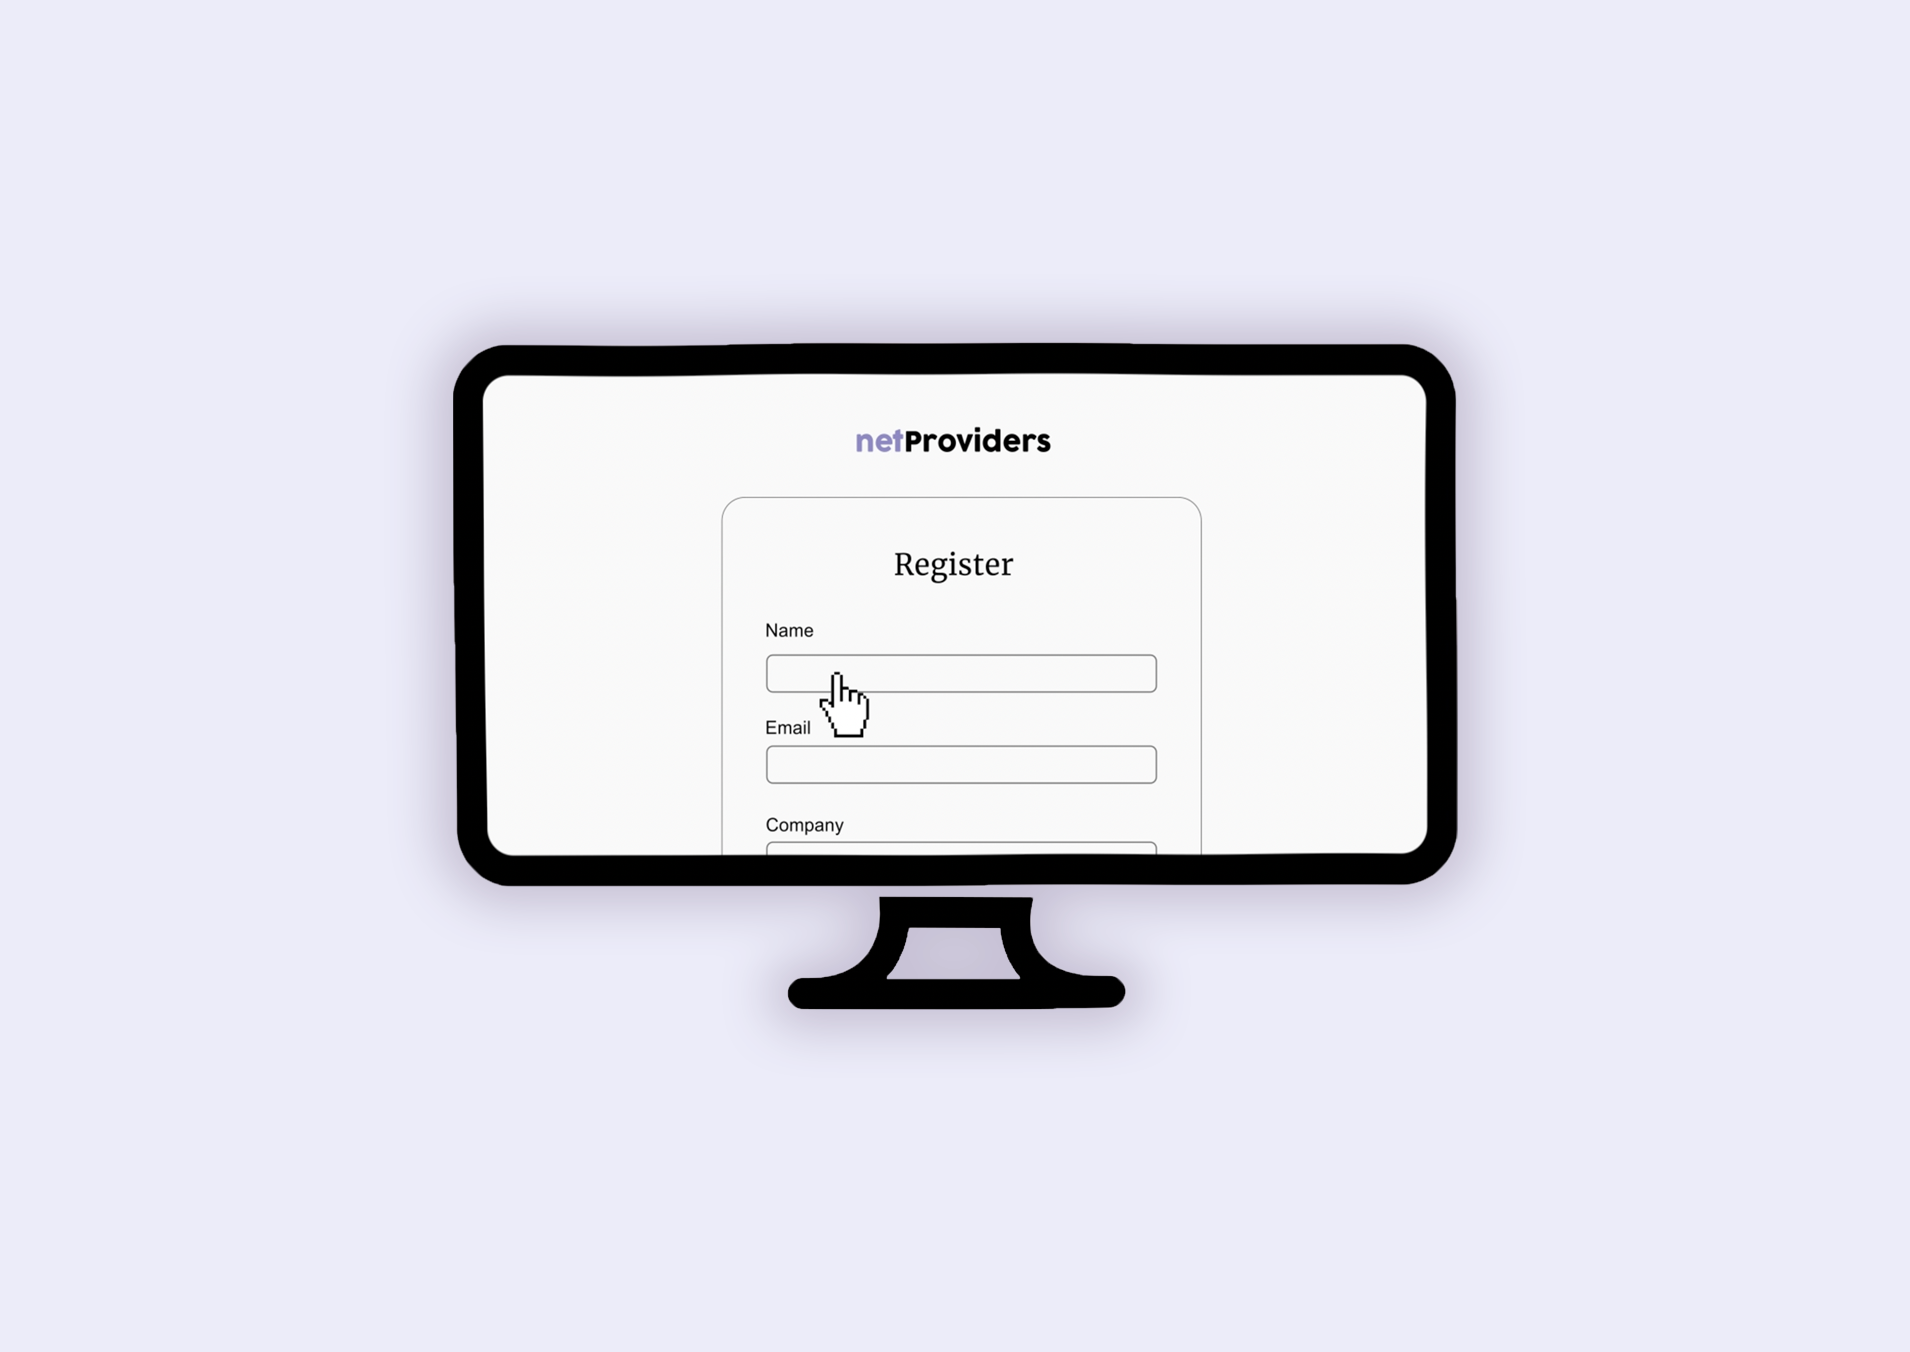
- If you don’t already have an account, we need to create one. Go to Log in and create an account for free.
- Fill in your company’s information.
- Now you’ve got an account so welcome to netProviders!
- This is your Dashboard which is where you will access everything you need. You’ll be able to track your current and past Campaigns, Create new lists and see your current Teams Lists, your Media Library, the Content Creator and your Account.
- In the Campaign view you will be able to create, send, save and track all your campaigns. Under this view you will be able to Create a new campaign, see your drafts and all your completed campaigns.
- Under Lists view you can Create new lists and see and edit your Teams Lists. Fill in the contact information about your new list or go to an already existing list to begin your email campaign. All your uploaded lists will appear under Teams Lists so you and your team can access them together.
- Under Media Library you can upload your images and logo for your campaigns. To upload files to your library, simply go to Add file to library and chose your images and then insert. Your media automatically appear in your Media Library whenever you’ve uploaded it in the Content Creator.
- Under your Account you’ll find your team settings. You can manage your team information, your team members, add new team members, see your pending team invitations and your current plan. This is where you switch between the plan of your needs. You can also pause and cancel your subscription if needed.
- Under Profile, if you go to your name in the right corner, you can see and edit your name, email address, update your password and delete your account.
That’s about everything you need to know. Still need some guidance? Get in touch with us and we will help you clear out any fuzziness.


